
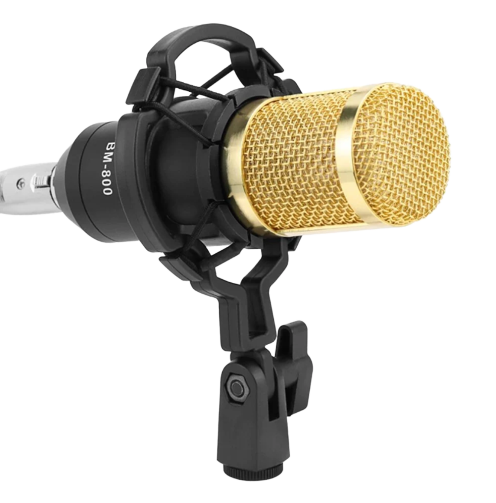
Are you wondering how to assemble a BM 800 condenser microphone? You probably just bought this mic and are curious how to install it now. Don’t worry about it because I’ve got this covered.
When I bought the BM 800 condenser microphone, I was in the same place, trying to figure out how to put it together to start using it.
You probably bought this condenser microphone for podcasting – it sure is one of the best podcasting microphones on a budget. I have done podcasting with this mic, and the audio quality was quite good.
Sure, you can’t compare this microphone with RODE or other top-notch microphone brands, but you could grab this microphone as an RODE alternative if you’re a little tight on the budget.
Anyway, you don’t have to be a camera gear expert to assemble the BM 800 mic. Follow the steps mentioned below to get started with using this microphone, and you’ll be fine.
How to Assemble a BM 800 Condenser Microphone
Here are the steps involved:
Attach the clamp to the table
The first step of assembling the BM 800 condenser microphone is to attach the clamp to the table or wherever you want to attach it.
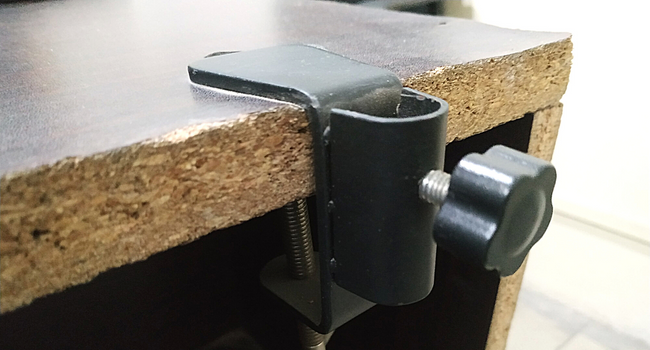
There is a small lever underneath the clamp; tighten it to keep your microphone stable. Nobody wants a wobbly microphone.
Install the microphone arm
The next step is to install the microphone arm. It’s a mandatory step for assembling the BM 800 microphone. Otherwise, it won’t look perfect. One of the benefits of these USB condenser microphones for podcasting or recording videos is that you don’t have to hold them. Instead, you put them on the microphone arm.
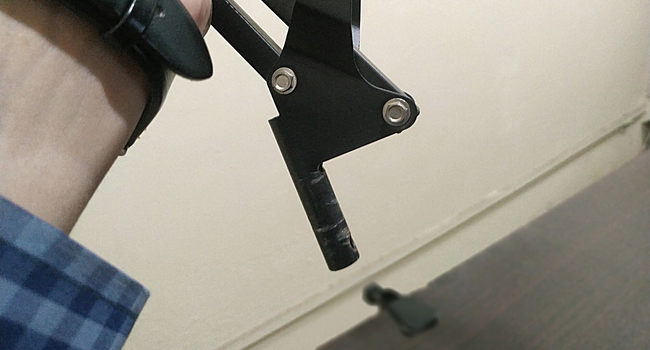
To install the microphone arm, insert the lower part of the microphone arm into the clamp and tighten the screw to keep the microphone arm stable and steady.
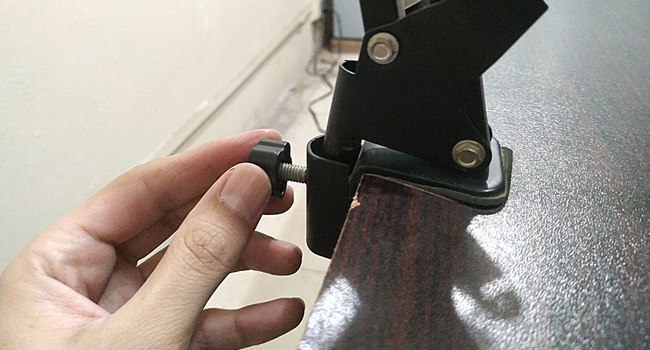
You don’t have to do it every time you use the microphone. Install it once, and it’ll be okay for quite some time.
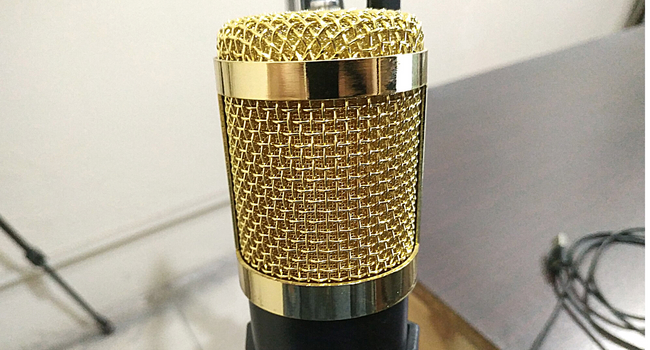
Place the mic on the arm
The microphone arm has a snakemouth-shaped clip to attach the microphone. Now attach the microphone to the arm, and you’re almost done with assembling the BM 800 condenser microphone.
Insert the USB cable into the PC
The BM 800 is a USB condenser microphone. Once everything seems done, insert the USB cable into your USB port on your laptop or PC to connect the microphone to your computer.
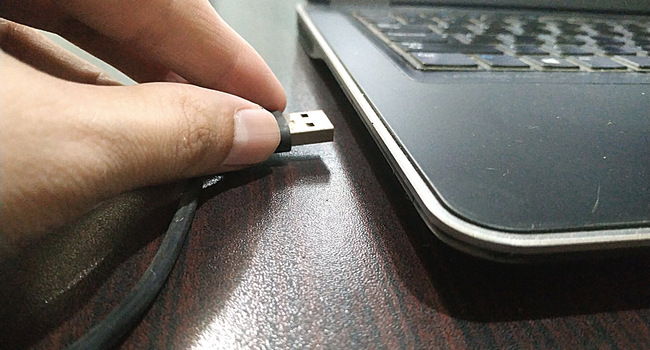
The PC or laptop would immediately detect the new device, and it may take a few seconds to install the driver. You could start using the BM 800 condenser microphone within a few seconds.
Is it Difficult to Assemble the BM 800 Microphone?
I’ve explained the steps of assembling the BM 800 microphone. It may seem like a difficult job if you’re someone who isn’t good at assembling camera gear or gadgets, but it’s easy.
If you’re a little stressed about assembling this microphone, then you should be worried now. Assembling the BM 800 microphone is like a piece of cake.
Moreover, a pamphlet comes with the BM 800 microphone that has all the steps written on it. You can follow the step-by-step guide and join the pieces together within a few minutes.
The answer to the question is “no.” It’s not difficult to assemble the BM 800 microphone at all.
Is BM 800 a Good Microphone for Podcasting?
This is coming from someone who has actually used the BM 800 for podcasting. Even though it’s a mid-range USB condenser microphone, the audio quality was quite impressive.
So yes, BM 800 is a good microphone for podcasting, especially if you’re just starting and you don’t have a big fat budget to spend on a RODE mic just yet.
Try out the BM 800 condenser microphone for podcasting, and you won’t be disappointed.
I have been podcasting using the BM 800 for quite some time, and we found this microphone quite good for this price range.